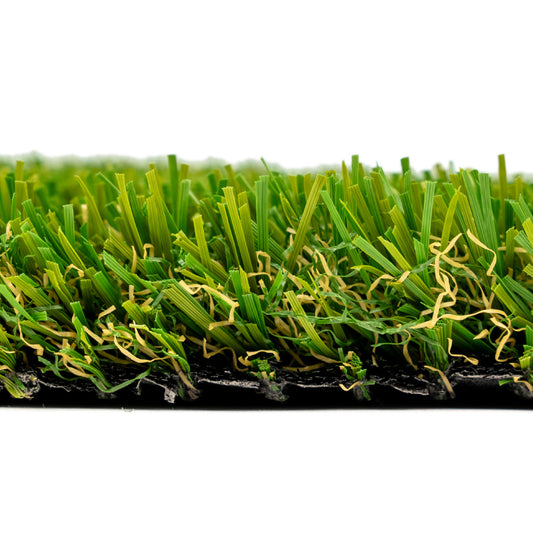
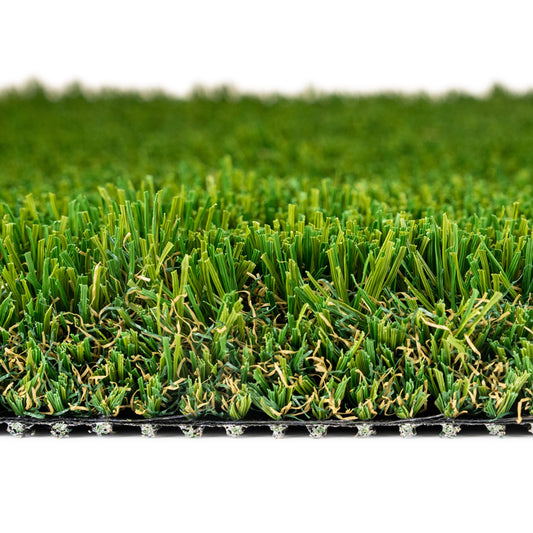
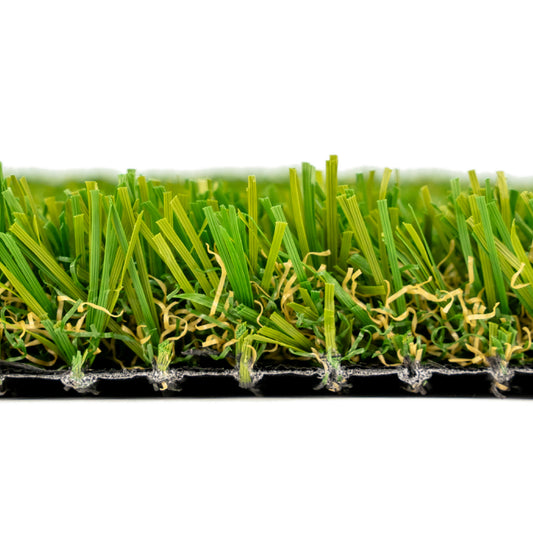
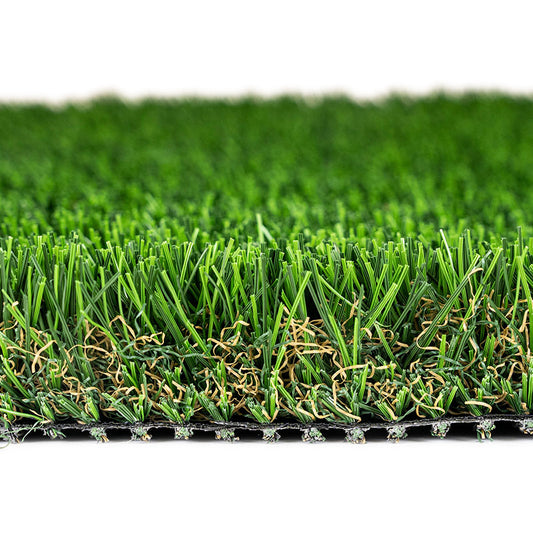
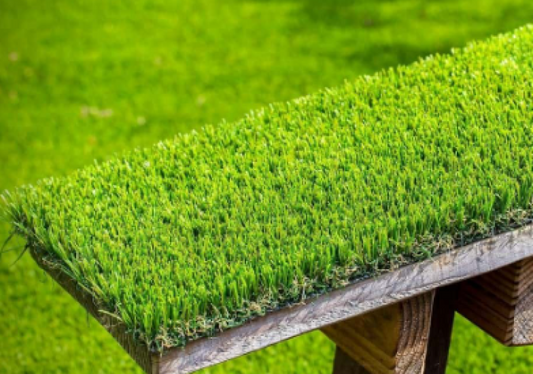
Any Time Turf is high-quality fake grass, perfectly suited for its purpose and well-maintained, and can last 8-10 years or more. Lifespan may vary based on factors like usage, maintenance, and environmental conditions. We offer a one-year warranty for all our synthetic grass for added relief.
How to Choose Artificial Turf Based on Your Application
Choosing the right artificial turf for your needs can be a daunting task given the variety of options available. The key to making the best choice lies in understanding the specific requirements of your application. Here’s a comprehensive guide to help you select the perfect artificial turf based on different uses.
DIY Installation Tips for Artificial Turf: A Step-by-Step Guide
Step 1: Gather Your Materials and Tools
Before you start, ensure you have all the necessary materials and tools for the installation:
- Artificial turf
- Base materials (crushed stone, sand)
- Weed barrier fabric
- Turf adhesive or staples
- Utility knife
- Shovel
- Rake
- Compactor or roller
- Measuring tape
- Seam tape (if needed)
- Broom
Step 2: Prepare the Installation Area
- Clear the Area: Remove any existing grass, plants, rocks, and debris from the installation area.
- Excavate the Soil: Dig out the soil to a depth of about 3-4 inches to create a space for the base materials.
- Install the Weed Barrier: Lay down a weed barrier fabric to prevent weeds from growing through the turf.
Step 3: Create a Solid Base
- Add Base Materials: Fill the excavated area with a 2-3 inch layer of crushed stone or gravel. This layer helps with drainage and provides a solid foundation.
- Compact the Base: Use a compactor or roller to compact the base materials until they are firm and level.
- Add a Layer of Sand: Spread a 1-inch layer of sand over the compacted base and level it out. Compact the sand layer to create a smooth surface.
Step 4: Lay the Artificial Turf
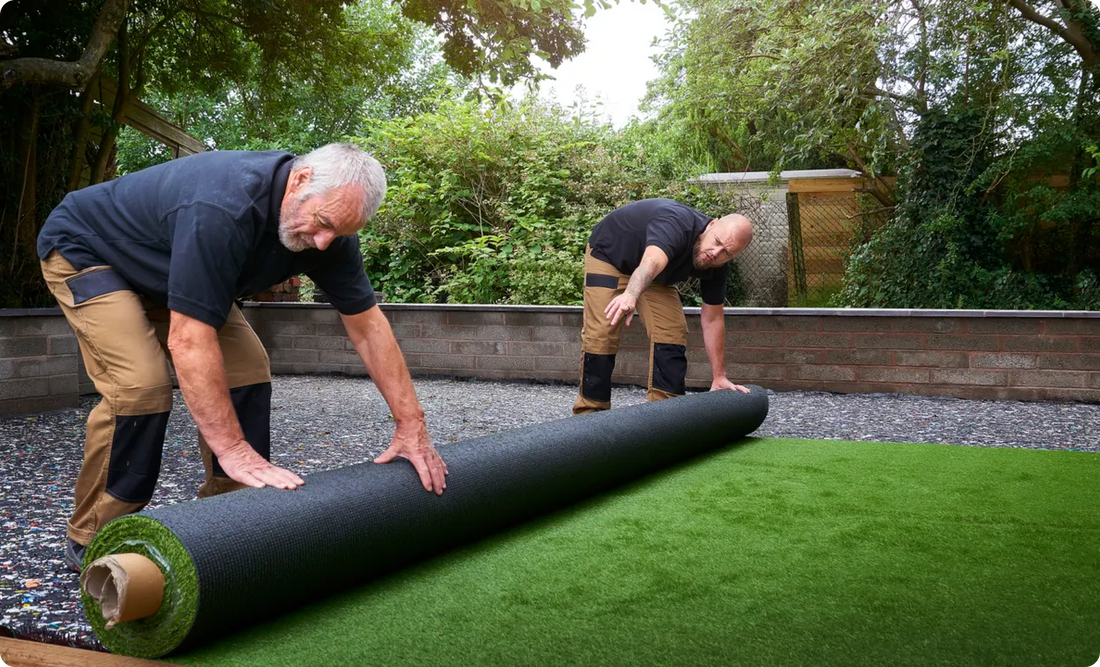
- Measure and Cut the Turf: Measure the installation area and cut the artificial turf to fit using a utility knife. Ensure the turf pieces are slightly larger than the area to allow for adjustments.
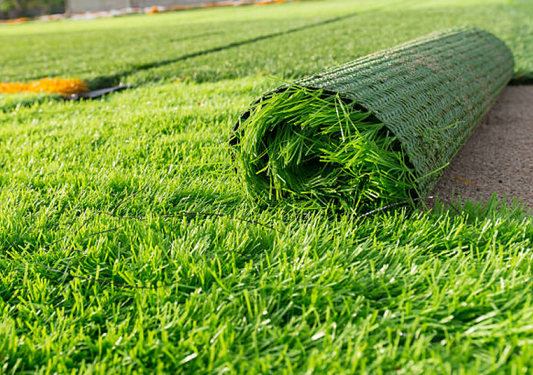
- Position the Turf: Lay the turf over the prepared base, making sure the blades are facing the same direction. Allow the turf to sit for a few hours to let it settle.
Step 5: Secure the Turf
- Trim the Edges: Trim the excess turf along the edges for a precise fit.
- Join Turf Sections: If you have multiple pieces of turf, use seam tape and adhesive to join them. Apply the adhesive to the seam tape and press the turf edges together firmly.
- Secure the Perimeter: Use turf staples or landscape spikes to secure the edges of the turf. Place the staples or spikes every 6-8 inches along the perimeter to prevent
Step 6: Add Infill and Final Touches
- Apply Infill: Spread infill material (silica sand or rubber granules) evenly over the turf. This helps the blades stand upright and adds stability.
- Brush the Turf: Use a broom or power brush to brush the turf fibers upright and evenly distribute the infill.
- Inspect and Adjust: Check the entire installation for any areas that need adjustment. Make sure the turf is secure and looks natural.
Step 7: Enjoy Your New Lawn
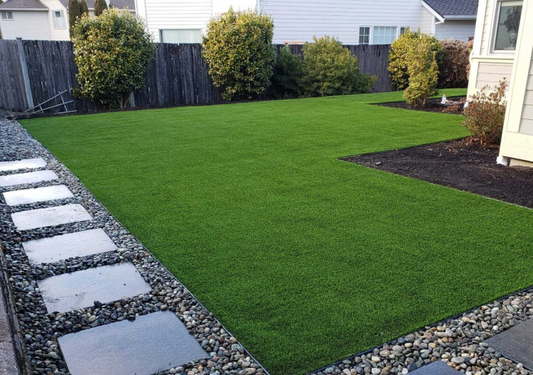
Your artificial turf is now installed and ready to use. Enjoy the low-maintenance, evergreen beauty of your new lawn!


 Reviews


